

TL;DR:
- Effective prototype development involves selecting appropriate fidelity levels, testing with real users, and iterating quickly to validate assumptions before production. Proper preparation includes understanding user needs, defining riskiest assumptions, and choosing the right tools to match the product type and objectives. Most failures stem from process mistakes, such as overbuilding early or skipping goal setting, which can be avoided by focusing on disposable, goal-oriented prototypes.
Prototype development is the process of creating early versions of a product to test, validate, and refine ideas before full-scale production. Every successful product launch, from Figma-designed apps to 3D-printed physical goods, traces back to a prototype that proved the concept worked. Skipping this step is one of the most expensive mistakes a founder can make. Delaying user testing leads to higher costs and failed assumptions after expensive development. This guide walks you through every phase of the prototype design process, from your first rough sketch to a production-ready model, with the tools and methods that actually move the needle.
What are the types of prototype fidelity and when to use each?
Fidelity is the single most misunderstood concept in prototype development. Most entrepreneurs either build too high too fast or stay stuck at paper sketches when they need real user data. Understanding the three fidelity levels, and when to use each, is what separates teams that learn fast from teams that burn budget.
Low-fidelity prototypes are paper sketches, sticky-note flows, and rough storyboards. They cost almost nothing to produce and exist purely to externalize ideas so a team can debate them. The goal is not to impress anyone. Prototypes are conversation starters, not final products, and should be as rough as possible while still communicating the core idea. Use low-fidelity when you are still exploring multiple concepts and have not committed to a direction.
Mid-fidelity prototypes are wireframes and clickable flows built in tools like Figma or Balsamiq. They simulate structure and navigation without investing in visual polish. This is the right level for usability testing, where you want to learn whether users can complete a task, not whether they like the color palette. Mid-fidelity prototypes are also where physical product developers use foam models or rough 3D prints to test form and ergonomics.
High-fidelity prototypes are interactive, polished models that closely resemble the final product. Digital teams build these in Figma or with functional code in Bubble. Physical product teams use precise 3D printing or CNC machining. High-fidelity is appropriate when you need to validate visual design decisions, test with investors, or prepare for manufacturing handoff.
| Fidelity level | Best use case | Typical tools | Time budget |
|---|---|---|---|
| Low-fidelity | Concept exploration, team alignment | Paper, sticky notes, whiteboard | Under 1 day |
| Mid-fidelity | Usability testing, navigation flows | Figma, Balsamiq, foam models | A few days |
| High-fidelity | Investor demos, pre-production validation | Figma, Bubble, 3D printing, CNC | 1 to 2 weeks |
The rule on timing matters. Timeboxing fidelity levels keeps prototypes disposable and learning-focused. Spending more than two weeks on any prototype before user validation is a warning sign that you are building a product, not testing an assumption.
How to prepare for prototype development: research, tools, and goals
Preparation determines whether your prototype tests the right thing. Most teams skip this phase and build something that answers a question nobody asked. Before you touch a tool, you need three things locked down: a clear understanding of your user, a defined riskiest assumption, and the right tool for your fidelity level.
Start with user and market research. Interview at least five to ten potential users and map their current behavior. Use competitor analysis to understand what existing products get right and where they fall short. Formlypro's platform, for example, includes built-in competitor analysis that shows which products are selling and what formulations those brands are using. That kind of data shapes your prototype goals before you build a single screen or sample.
Define your riskiest assumption before you define your prototype scope. A riskiest assumption is the single belief your product depends on that has the least evidence. If that assumption is wrong, the product fails. Write it as a testable hypothesis: "We believe users will pay $30 per month for automated formulation tracking because they currently spend two hours per week doing it manually." That sentence tells you exactly what to build and what to measure.
Choose your tools based on fidelity and product type. Tools like Figma, Bubble, and 3D printers accelerate prototyping from sketches to functional models. Selecting tools that match your iteration plan prevents rework from premature investment in the wrong medium.
- Figma: best for digital product wireframes and high-fidelity interactive prototypes
- Bubble: best for functional no-code web app prototypes that simulate real behavior
- 3D printing (FDM or SLA): best for physical product form and fit testing
- Cardboard and foam: best for rapid physical concept exploration at near-zero cost
- Formlypro: best for supplement and formulation product developers who need research-backed formulation prototypes with compliance guidance built in
Pro Tip: Set a timebox before you open any tool. Decide in advance how long this prototype phase lasts and what question it must answer. Without that constraint, scope creep will turn a two-day wireframe into a three-week design project.
What are the steps in prototype development from concept to testing?
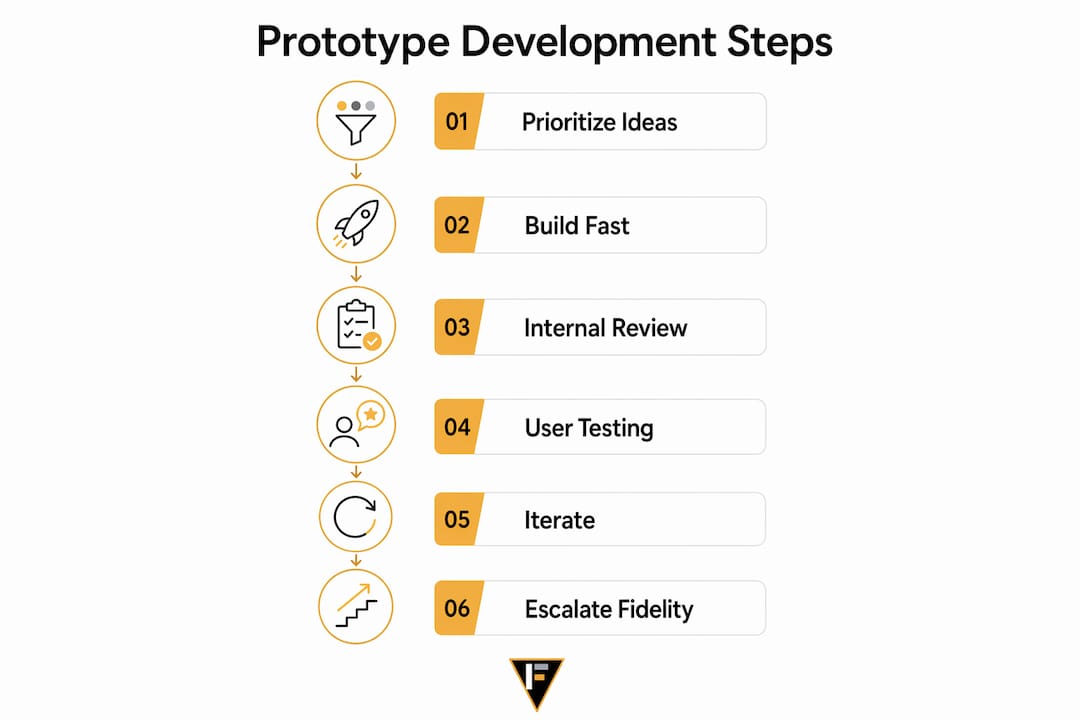
The iterative prototyping cycle is not linear. It is a loop: define a question, build the minimum needed to answer it, test with real users, and repeat until validated or until you pivot. Here is how to run that loop with discipline.

Step 1: Prioritize your ideas. Select one to three concepts based on risk and potential value. Score each idea against your riskiest assumption. The concept that most directly tests your core hypothesis goes first. Avoid the temptation to prototype everything at once.
Step 2: Build fast and ugly. Rapid prototyping methods use the fastest possible approach to surface issues early, lowering risk and accelerating development. Your first prototype should take hours, not days. Use paper, sticky notes, or a rough Figma frame. The goal is a physical or digital artifact that communicates the idea, not one that impresses anyone.
Step 3: Share internally first. Before testing with users, walk your prototype through your team and one or two stakeholders. Internal review catches obvious gaps and logical errors that would waste a user session. Keep this review short. One hour maximum.
Step 4: Test with real users. This is the step most teams shortcut, and it is the most valuable one. Testing with real users is the only way to surface genuine usability issues. Internal teams are too close to the product to give unbiased feedback. Recruit five to eight users who match your target profile. Give them a task, not a tour. Watch what they do, not what they say they would do.
Step 5: Focus on a single moment of value. Prototyping should focus on a single riskiest assumption and a single moment of value rather than full user journeys. Testing too much at once produces ambiguous data. If three features change and users are confused, you do not know which feature caused the problem.
"Planning has limits. Prototyping forces real decisions and surfaces hidden challenges faster than any discussion alone." — Harvard Business School
Step 6: Iterate based on findings. After each test round, document what you learned, what changed, and what you will test next. Update your prototype only to address the specific issues the test revealed. Do not redesign everything because one user was confused by one button. Patterns across five users are signal. Single observations are noise.
Step 7: Escalate fidelity when the core concept is validated. Once your low or mid-fidelity prototype consistently passes user tests, move to a higher-fidelity version to validate visual design, performance, or manufacturing feasibility. This is when tools like Bubble for functional prototypes or SLA 3D printing for physical products earn their cost.
For regulated products, documentation matters from the start. In medical devices and similar categories, prototypes become auditable artifacts requiring risk management tied to requirements. Build your compliance documentation habits early, even at the prototype stage, to avoid expensive rework later.
Common mistakes that kill prototype effectiveness
Most prototype failures are not technical. They are process failures that stem from predictable habits. Recognizing them before you start is worth more than any tool recommendation.
- Overbuilding too early. Over-polished prototypes create a sunk cost fallacy and slow iteration. Build ugly, build fast, and stay disposable until the concept is validated.
- Testing too many variables at once. Each prototype should answer one question. Testing five features simultaneously means you cannot attribute results to any single change.
- Skipping goal definition. Building without a testable hypothesis produces a prototype that looks good but teaches nothing. Write the question before you open Figma or pick up a 3D printer.
- Testing only with your team. Internal feedback is useful for catching errors, but it does not replace real user testing. Your colleagues know too much about the product to simulate genuine first-contact behavior.
- Ignoring compliance early. For supplement, medical, or regulated product developers, design controls and verification requirements apply from the earliest prototype stages. Catching a compliance gap at the prototype stage costs a fraction of what it costs at production.
Pro Tip: Before each prototype build, write one sentence: "This prototype will prove or disprove [specific assumption] by [specific measurable outcome]." If you cannot write that sentence, you are not ready to build.
Key takeaways
Effective prototype development requires matching fidelity to your current learning goal, testing with real users at every stage, and iterating fast enough to validate assumptions before committing to production.
| Point | Details |
|---|---|
| Match fidelity to your goal | Use low-fidelity for exploration, mid-fidelity for usability, and high-fidelity for pre-production validation. |
| Timebox every prototype phase | Low-fidelity under one day, mid-fidelity a few days, high-fidelity one to two weeks maximum. |
| Test one assumption at a time | Focused tests produce clear, actionable data. Testing multiple variables at once produces ambiguity. |
| Always test with real users | Internal teams cannot replicate genuine first-contact behavior or surface real usability issues. |
| Build compliance habits early | For regulated products, documentation and verification at the prototype stage prevents costly rework later. |
Why most prototype advice misses the point
I have watched dozens of product teams spend six weeks building a beautiful Figma prototype when a paper sketch and five user conversations would have answered the same question in two days. The conventional advice to "start with a prototype" is correct but incomplete. The part nobody says loudly enough is that the prototype is not the work. The learning is the work.
The biggest shift I have seen in effective teams is treating each prototype as a disposable experiment rather than a milestone. When a prototype is disposable, you build it fast, test it honestly, and throw it away without grief. When it becomes a milestone, you polish it, defend it, and stop learning from it.
The other thing I would push back on is the idea that you should always follow a linear fidelity progression. Sometimes you need to jump straight to a functional Bubble prototype because your riskiest assumption is about whether the core logic works, not whether users can navigate a flow. Sometimes a cardboard model answers a manufacturing question faster than any CAD file. Match the tool to the question, not to a prescribed sequence.
For formulation and supplement product developers, the product concept validation phase is where most brands lose money. They skip the prototype stage entirely and go straight to a manufacturer, only to discover the formulation does not match market expectations or fails a compliance check. That is a six-figure mistake that a structured prototype cycle would have caught in week two.
The teams that ship successful products are not the ones with the best tools. They are the ones who ask better questions, test faster, and stay willing to be wrong early.
— Ben
How Formlypro accelerates your prototype workflow
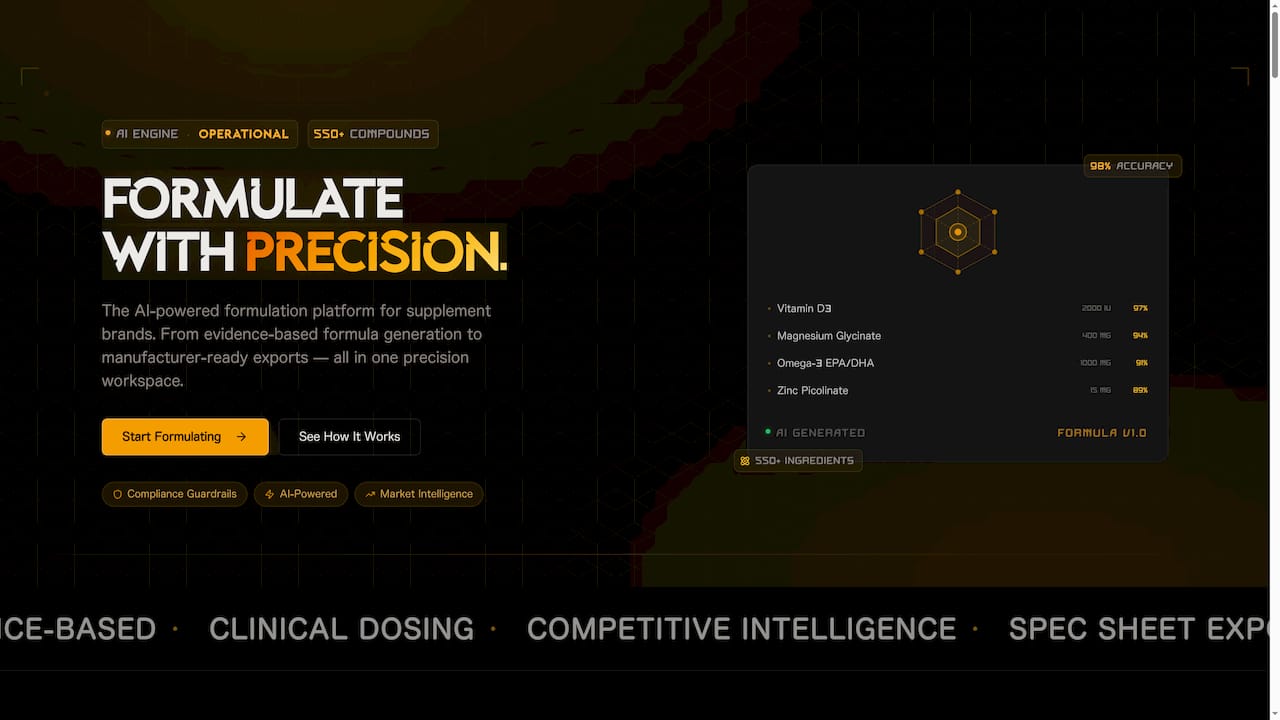
Formlypro is built for exactly the kind of iterative, research-backed prototype development this guide describes. The platform's 8-phase product development plan takes you from ideation through formulation, prototyping, compliance, and production in a single system. You get built-in market research, competitor formulation analysis, and compliance guidance so your prototype decisions are grounded in real data, not guesswork. The AI Mockup designer handles custom packaging so you can visualize your product at the prototype stage without hiring a designer. If you are building a supplement or consumer product and want a faster path from concept to production-ready prototype, explore Formlypro and see how the platform fits your development cycle.
FAQ
What is prototype development?
Prototype development is the process of building early, low-cost versions of a product to test assumptions and validate ideas before full-scale production. Prototypes range from paper sketches to functional models depending on what question you need to answer.
How do I choose the right prototyping tool?
Match the tool to your fidelity level and product type. Figma and Bubble work for digital products, while 3D printing and foam modeling suit physical goods. The right tool is the one that answers your current question at the lowest cost.
How long does prototype development take?
Low-fidelity prototypes should take under one day, mid-fidelity a few days, and high-fidelity one to two weeks maximum. Exceeding these timeboxes usually signals overbuilding rather than genuine complexity.
What is iterative prototyping?
Iterative prototyping is a cycle of defining one testable assumption, building the minimum prototype needed to test it, gathering user feedback, and repeating the loop until the concept is validated or abandoned. It is the core method behind effective prototype testing.
Do regulated products need special prototyping practices?
Yes. In categories like medical devices and supplements, prototypes must align with design controls, verification requirements, and risk management documentation from the earliest stages. Building compliance habits at the prototype stage prevents expensive corrections during production.