
TL;DR:
- Creating custom packaging enhances brand perception and customer experience, influencing trust and repeat sales.
- Accurate measurements, detailed briefs, and sample approval are vital to prevent costly mistakes and ensure proper fit and quality.
Your product could be exceptional, but if it arrives in a plain brown box with no personality, you've already lost a moment you can't get back. Learning how to create custom packaging is one of the highest-leverage decisions a small business owner can make. It affects first impressions, return rates, and whether customers share their purchase online or quietly move on. This article walks you through everything: what you need before you start, the step-by-step design process, common mistakes that cost real money, and how to make packaging that protects your product while delighting the person opening it.
Table of Contents
- Key takeaways
- How to create custom packaging: what to gather first
- Step-by-step: how to design custom packaging
- Common mistakes that derail custom packaging projects
- Making packaging that protects and impresses
- My take on what actually makes this work
- Take your product further with Formlypro
- FAQ
Key takeaways
| Point | Details |
|---|---|
| Start with precise measurements | Include clearance for padding and inserts in your product dimensions before briefing any manufacturer. |
| A brief is your most powerful tool | A detailed packaging brief with dimensions, materials, and finish specs directly speeds up sample accuracy. |
| Low MOQs make testing affordable | Some suppliers accept orders as low as 100 units, which lets you test packaging before committing to large runs. |
| Approve samples before full production | Pre-production samples are a critical checkpoint. Never approve a full run without physically reviewing a sample first. |
| Protection and presentation go together | The box-to-product ratio determines both damage rates and unboxing experience. Getting it wrong costs you on both ends. |
How to create custom packaging: what to gather first
Before you open any design tool or contact a manufacturer, you need to do some groundwork. Skipping this step is the single most common reason small business owners end up with packaging that doesn't fit, doesn't ship well, or doesn't represent their brand.
Here's what to collect before anything else:
- Exact product dimensions. Measure length, width, and height with a caliper if possible. Then add clearance. Clearance for inserts, padding, or wrapping thickness must be factored into your total dimensions before briefing a manufacturer. A box that is 2mm too tight is just as problematic as one that is 3 inches too large.
- Product weight and fragility. Fragile products require different structural choices, from double-wall corrugated to foam inserts. A heavier product needs a sturdier base.
- Brand identity elements. Pull together your logo files in vector format, your exact color codes (Pantone, CMYK, and hex), your brand fonts, and any messaging or taglines that belong on the packaging.
- Packaging style preference. Are you looking for a rigid box for premium appeal, a folding carton for retail shelves, a mailer box for e-commerce, or a simple sleeve? Each serves a different purpose and carries a different price point.
- Budget and minimum order quantity (MOQ). Know what you can spend per unit and in total. Some custom packaging providers accept orders as low as 100 units, which is ideal for entrepreneurs testing a new product or a limited edition release.
Pro Tip: Photograph your product from every angle, including the bottom, before contacting a manufacturer. Many factories will create the structural dieline from a physical sample of your product rather than requiring print-ready design files upfront, which removes a major barrier for first-timers.
Step-by-step: how to design custom packaging
Once your groundwork is solid, the actual custom packaging design tutorial breaks down into five clear phases.
1. Choose your box style and materials
Start by matching the box structure to your product category and distribution channel. A luxury candle brand needs something different from a vitamin supplement. Corrugated mailer boxes handle shipping well. Rigid boxes signal premium quality at retail. Folding cartons work for lighter consumer goods. Your material choice also affects weight, which affects shipping cost.
2. Create and brief your design
This is where many entrepreneurs underestimate the work involved. A complete packaging brief should include product dimensions, box style, materials, print colors, finishes (matte, gloss, soft-touch laminate, foil stamping), interior print requirements, and any compliance text or barcodes required. The more specific your brief, the faster your manufacturer can return an accurate sample.
3. Use the right tools or work with professionals
You have options here. Self-serve online platforms give you convenience and speed for standard box types. Full-service packaging agencies provide structural engineering, material validation, and logistics support, though at a higher price. Formlypro's platform includes an AI Mockup designer built directly into the product development workflow, which lets you visualize your packaging before committing to production. For a broader look at what AI tools are doing in packaging, the options in 2026 go well beyond simple mockups.
4. Specify finishing and interior details
Finishing options affect both cost and perceived quality. A soft-touch matte laminate on a rigid box feels luxurious. UV spot coating draws attention to your logo. Interior printing or custom tissue paper extends the brand experience beyond the outer box. Decide what matters to your customer and set a budget for it.
5. Order samples and approve before full production
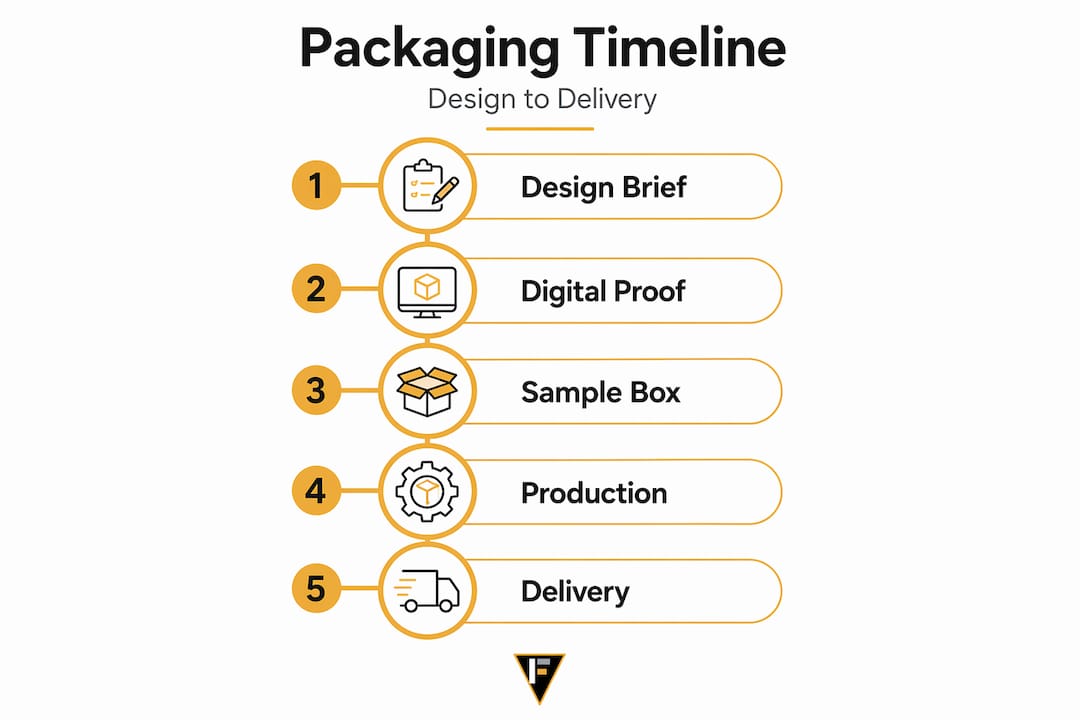
Here is the phase most entrepreneurs rush, and it is also where costly mistakes happen. The typical timeline from design to delivery looks like this:
| Production phase | Typical timeline |
|---|---|
| Digital proof from factory | 3 to 7 days |
| Physical sample production | 7 to 14 days |
| Manufacturing and shipping | 14 to 28 days |
| Total lead time | 4 to 6 weeks minimum |
Custom packaging from a factory usually requires 4 to 6 weeks from design to delivery. Plan accordingly, especially if you have a product launch date. Order your sample, physically fit your product inside it, test every fold and closure, and only approve full production when you are satisfied with the result.
Pro Tip: Always perform a dry test-fit before sealing your sample box. Test folding and closures with binder clips to check for binding lids, misaligned panels, or tight corners. Issues caught at sample stage cost nothing to fix. Issues caught after 1,000 units are printed cost everything.
Common mistakes that derail custom packaging projects
Even well-prepared entrepreneurs make these errors. Knowing them in advance puts you ahead of the majority of first-time buyers.
- Inaccurate measurements without clearance. Giving a manufacturer your product's bare dimensions without accounting for bubble wrap, foam padding, or tissue paper is one of the most common and expensive mistakes. Your box needs to fit your product plus its protective layer. Adding insert thickness to your dimensions before briefing prevents this entirely.
- Cluttered, over-designed graphics. More design elements do not mean more brand authority. Simple, restrained packaging designs communicate trustworthiness more effectively than ones packed with competing visuals. Pick a hierarchy: product name, one hero image or pattern, essential text. Everything else should be cut.
- Ignoring shipping and retail compliance needs. If your product is sold in stores, you may need barcodes, weight disclosures, country of origin, or safety symbols on the packaging. For e-commerce, you need packaging that survives carrier handling. Missing this detail means reprinting everything. Check your product compliance standards before the design is finalized.
- Skipping pre-production sample review. Some brands send a small approval fee to get a sample and then skip reviewing it carefully to save time. This is a false economy. Physical samples reveal problems that digital proofs simply cannot show, including material texture, color accuracy, and structural integrity.
- Underestimating lead time. Ordering with a four-week deadline when the process takes six weeks guarantees a problem. Build buffer time into your packaging calendar, especially for launches.
"A detailed packaging brief is the single most important factor for successful design and production." — Xactz Packaging Design Guide
Pro Tip: If you're ordering internationally, add at least one week to every timeline estimate. Customs clearance, port delays, and domestic freight all extend lead times in ways factories cannot always predict.
Making packaging that protects and impresses
Good packaging does two jobs at once: it keeps your product intact and it makes the person opening it feel something. Most brands optimize for one and neglect the other.
The box-to-product ratio is your starting point. Boxes that are too large waste material costs, add shipping weight, and let your product rattle around in transit. Boxes that are too tight compromise the insert layer, make the product hard to remove, and create a frustrating unboxing experience. The sweet spot is a snug fit with enough clearance for your protective layer.
| Packaging priority | Poor execution | Strong execution |
|---|---|---|
| Product fit | Too loose, product shifts in transit | Snug fit with insert for protection |
| Opening experience | Flimsy lid, hard to open | Clean pull-tab or magnetic closure |
| Brand presentation | No interior print, plain filler | Brand color tissue, printed interior |
| Sustainability | Oversized box, non-recyclable fill | Right-sized, recyclable materials |
On the sustainability front: 75% of consumers now factor packaging ease and environmental impact into their brand perception. Recyclable materials and right-sized boxes are not just ethical choices. They are competitive ones.
Pro Tip: Design your packaging to be easy to open and reseal. Consumers who can cleanly open a package and close it again are more likely to reuse it and less likely to associate your brand with waste or frustration.
Consistent brand messaging across the outside and inside of the box also matters more than most entrepreneurs realize. The inside of a mailer box is prime real estate. A simple printed message, a discount code, or even a thank-you note on the interior panel creates a moment that customers photograph and share.
My take on what actually makes this work
I've seen brands spend months agonizing over their logo and then rush the packaging brief in a single afternoon. That is completely backwards. The brief is where precision matters most. Vague measurement ranges, unclear finish requirements, and missing compliance text all get passed downstream to a factory that will make assumptions you did not intend.
What I've found separates successful packaging projects from frustrating ones is the willingness to treat the sample phase as a real milestone, not a formality. I've watched entrepreneurs approve samples via photo because they were busy. Then 500 boxes arrived with a lid that wouldn't close flush. The cost to reprint was more than the original order. Testing a physical sample takes an afternoon and saves weeks of recovery time.
I'll also say this plainly about cost: spending slightly more on a tactile finish or a well-fitted insert has a measurable return. Customers notice the difference between packaging that feels considered and packaging that feels generic. That difference drives repeat purchases and word-of-mouth more reliably than any ad spend. Don't cut corners on materials in the first production run if you're serious about building brand equity.
— Ben
Take your product further with Formlypro
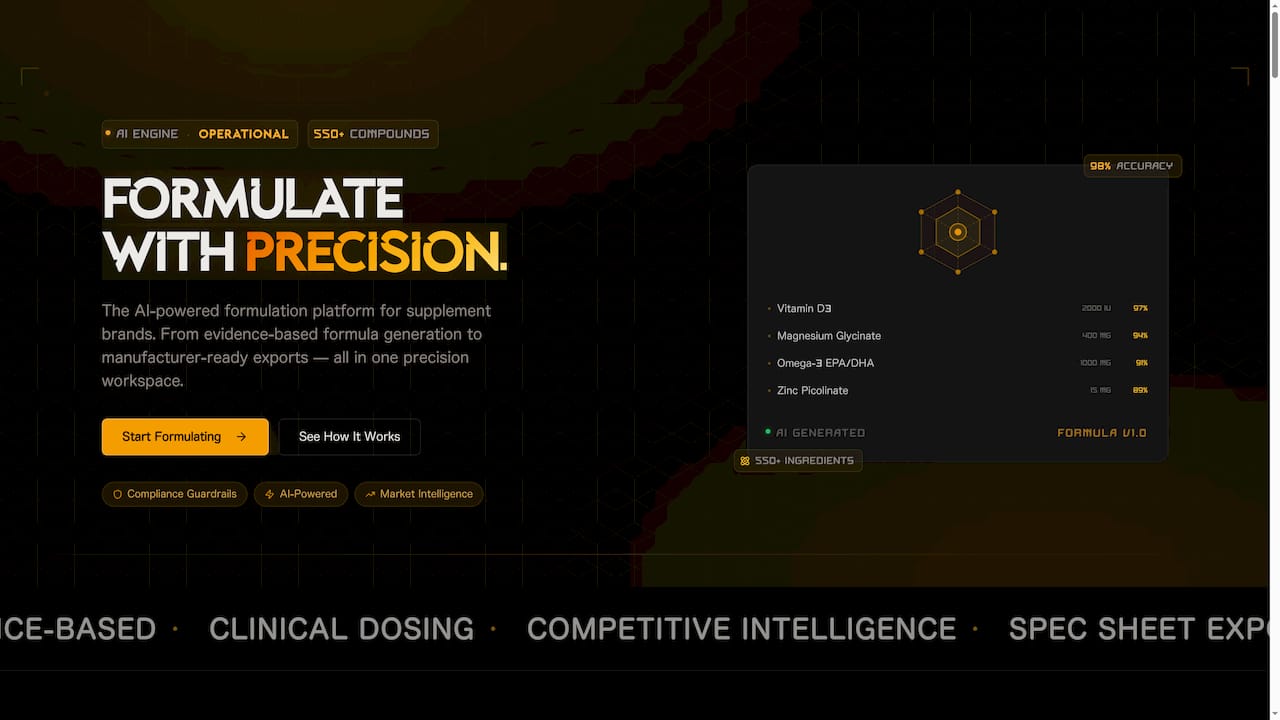
Packaging is one piece of a larger picture. If your product formula isn't right, the best box in the world won't save your brand. Formlypro gives entrepreneurs and small business owners a structured path from product idea to market-ready launch, including formulation, compliance guidance, market research, and a built-in AI Mockup designer for custom packaging design solutions you can visualize before spending a dollar on production. The platform's 8-phase plan covers every decision point, so nothing falls through the gaps. If you're building a product brand and want to get the formula, packaging, and compliance right the first time, Formlypro is worth exploring.
FAQ
How long does it take to create custom packaging?
Custom packaging from a factory typically takes 4 to 6 weeks from design approval to delivery, including time for digital proofs, physical samples, manufacturing, and shipping.
What's the minimum order for custom packaging?
Many suppliers now accept orders starting at 100 units, making it practical for small businesses to test custom packaging without a large upfront commitment.
Do I need to provide design files to the manufacturer?
Not always. Many factories will create the dieline from a physical sample of your product if you don't have print-ready files, which lowers the barrier for entrepreneurs working without an in-house designer.
What should a packaging brief include?
A strong brief covers exact product dimensions with clearance, box style, material preference, print colors, finishing options, interior requirements, and any regulatory or compliance text needed for your product category.
Why is packaging design important for small brands?
Packaging is a direct touchpoint between your brand and your customer. Well-executed packaging builds trust, encourages repeat purchases, and turns first-time buyers into advocates who share their experience online.